

Add Product
After creating your first shop in the SellBuddy app, you need to create your first product.
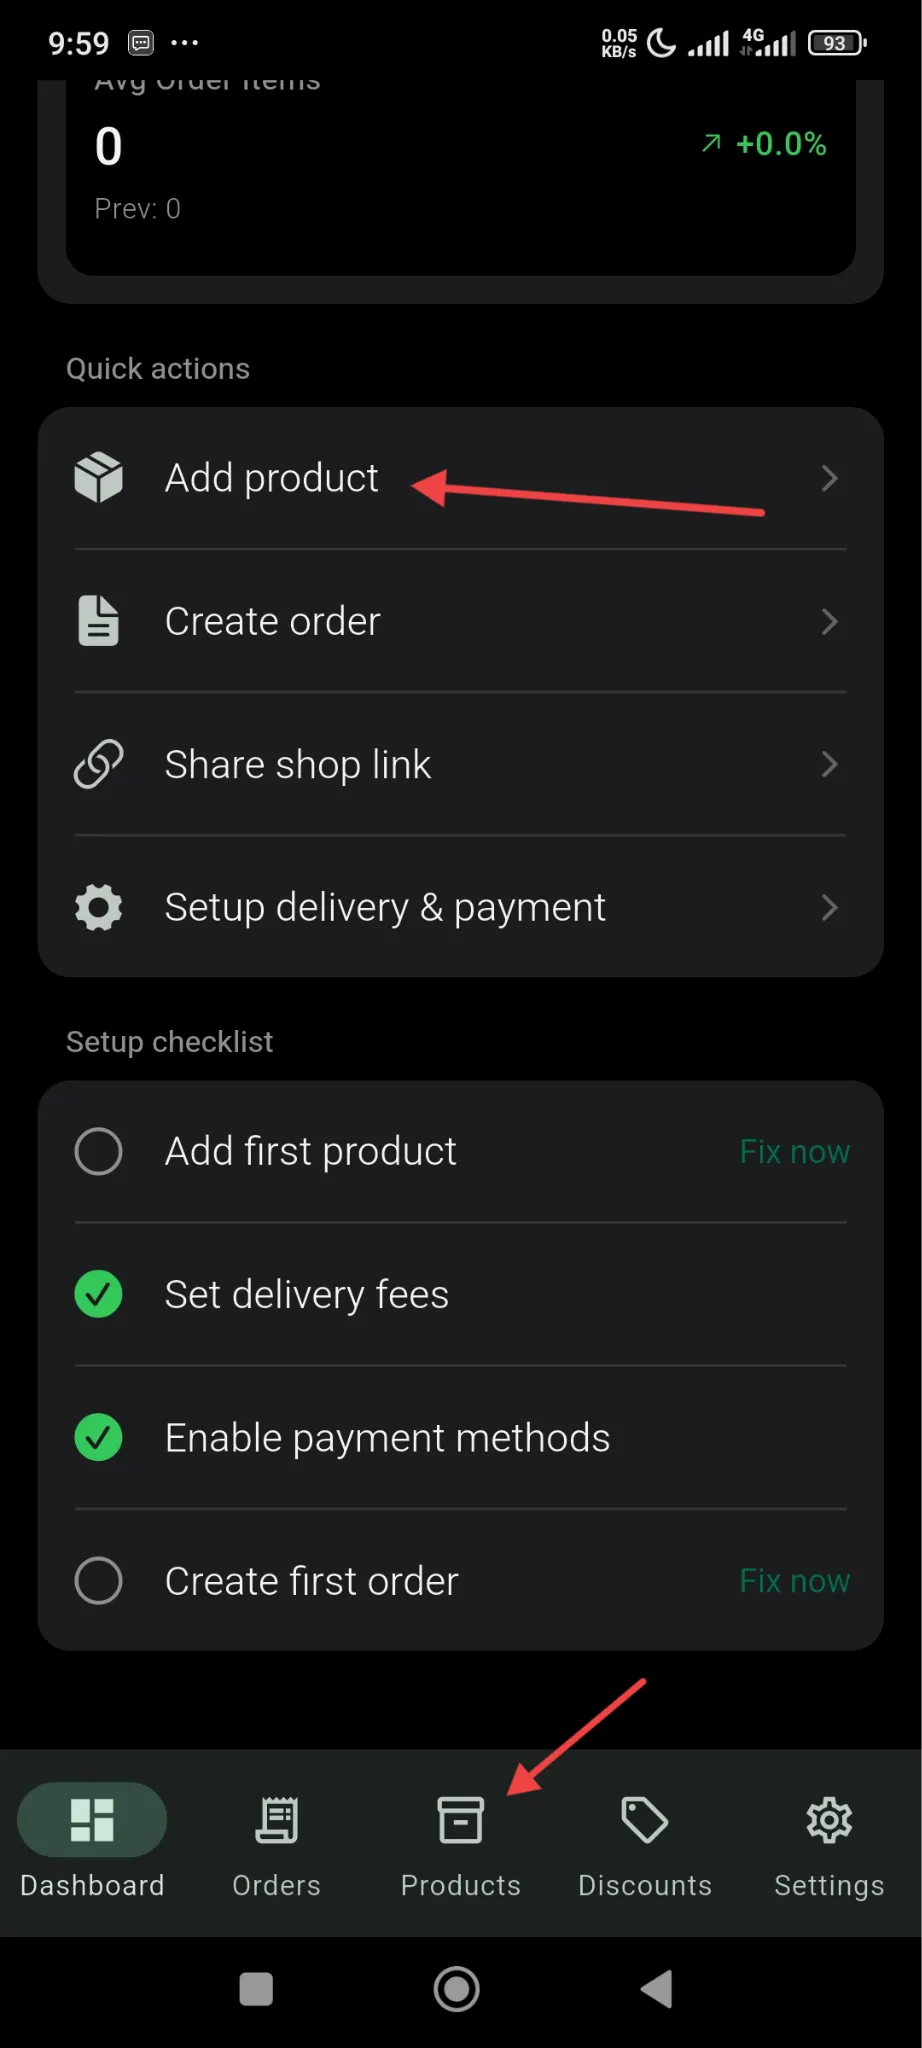
For that, click on the Add Product option from the dashboard or go to the products option from the menu below-
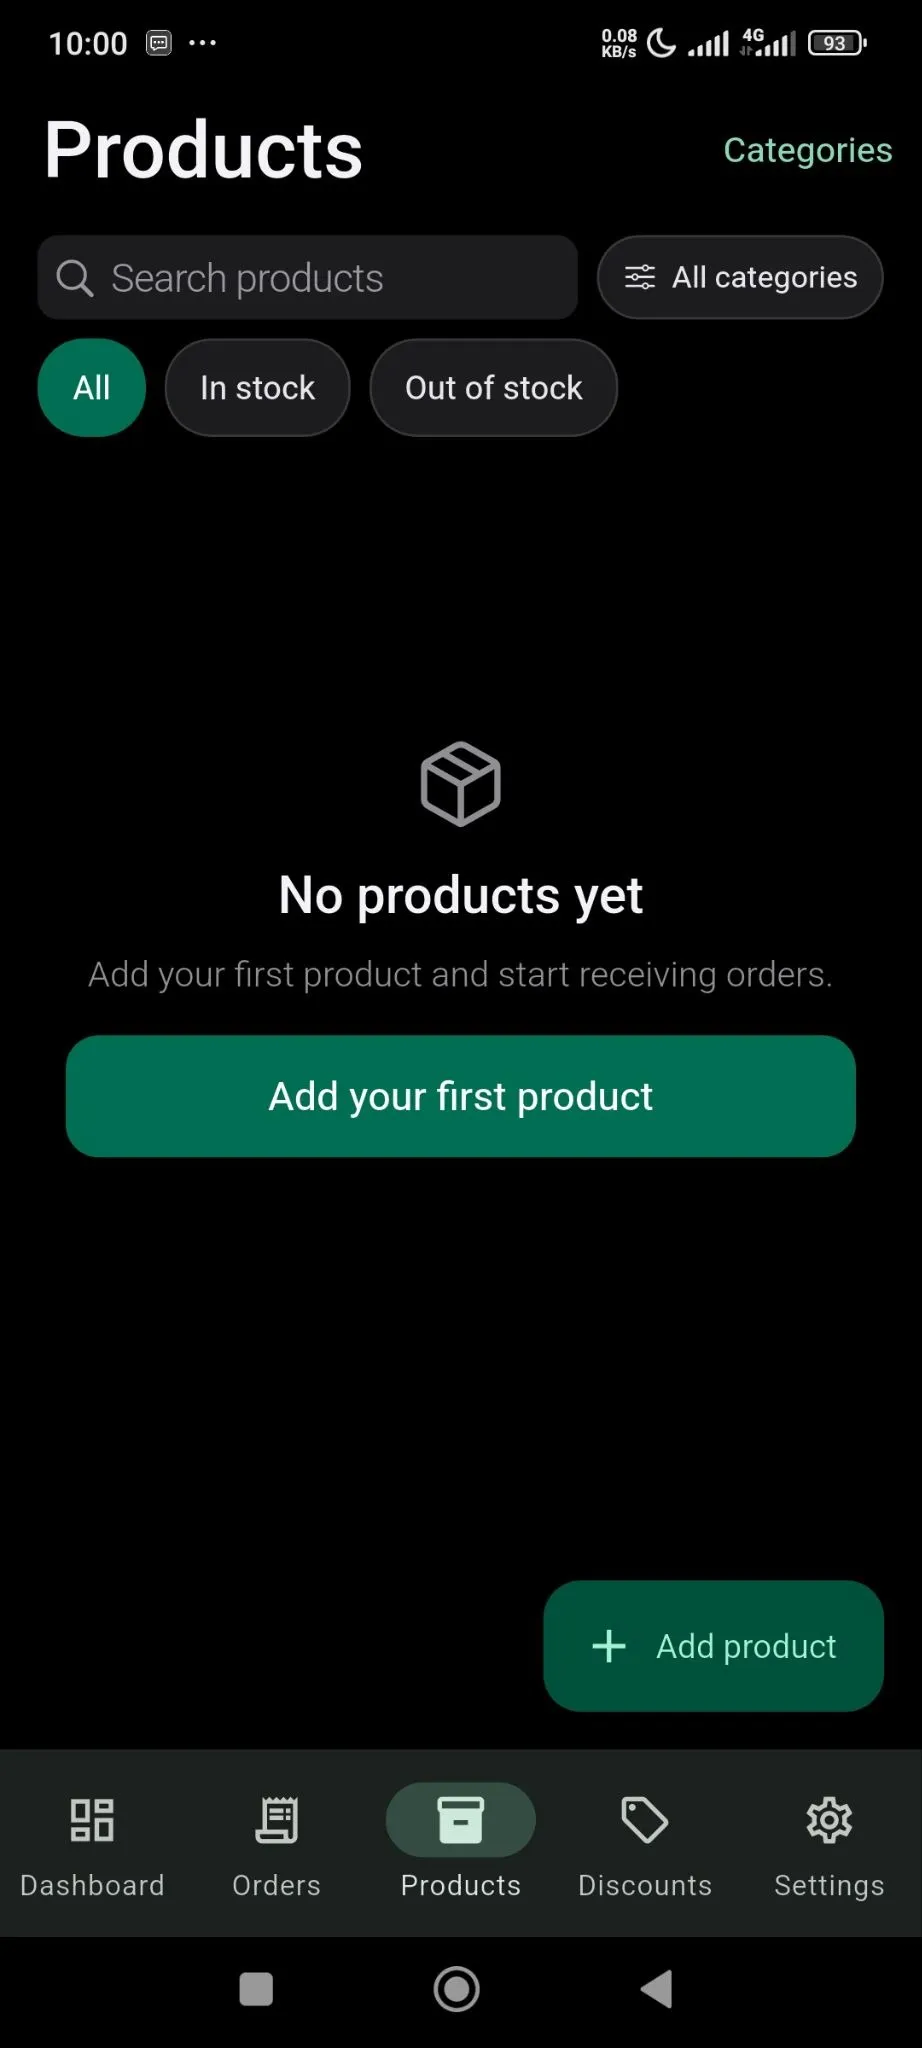
Then, click on the Add Your First Product button-
Categories
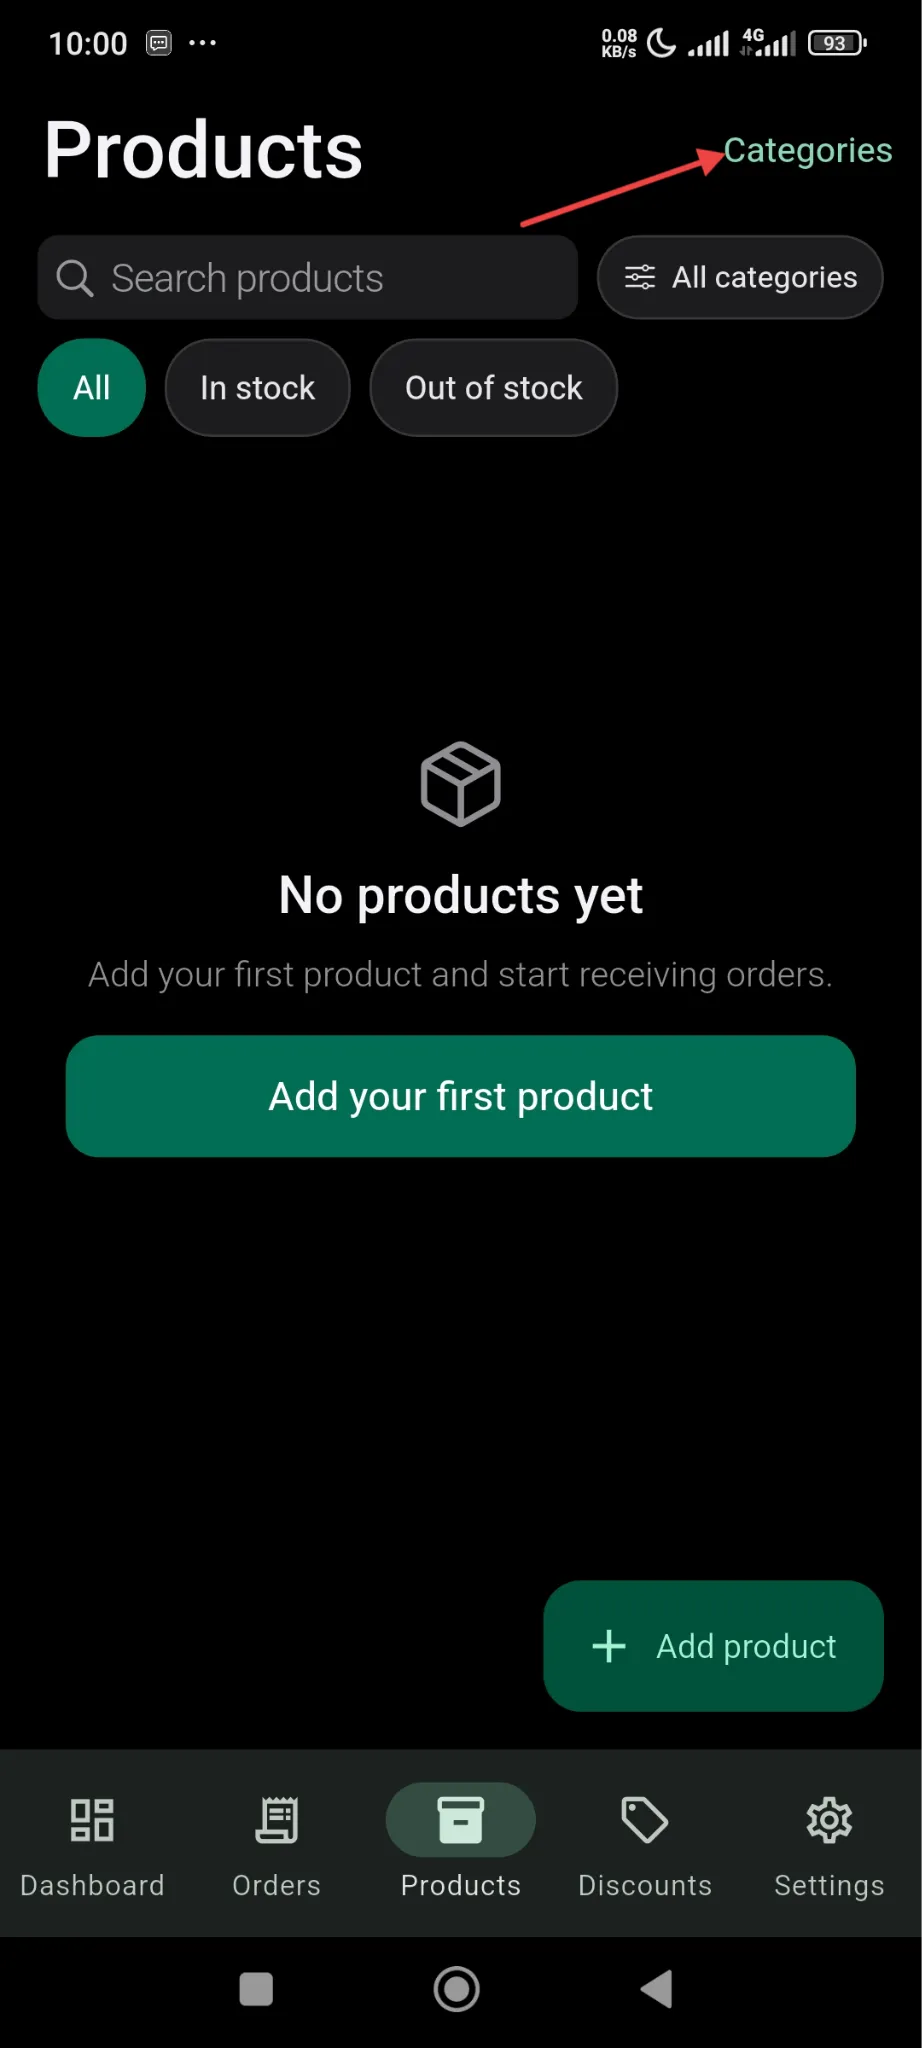
Section titled “Categories”Before adding the product, you need to add the categories. In the Add product Page, click on the Categories button-
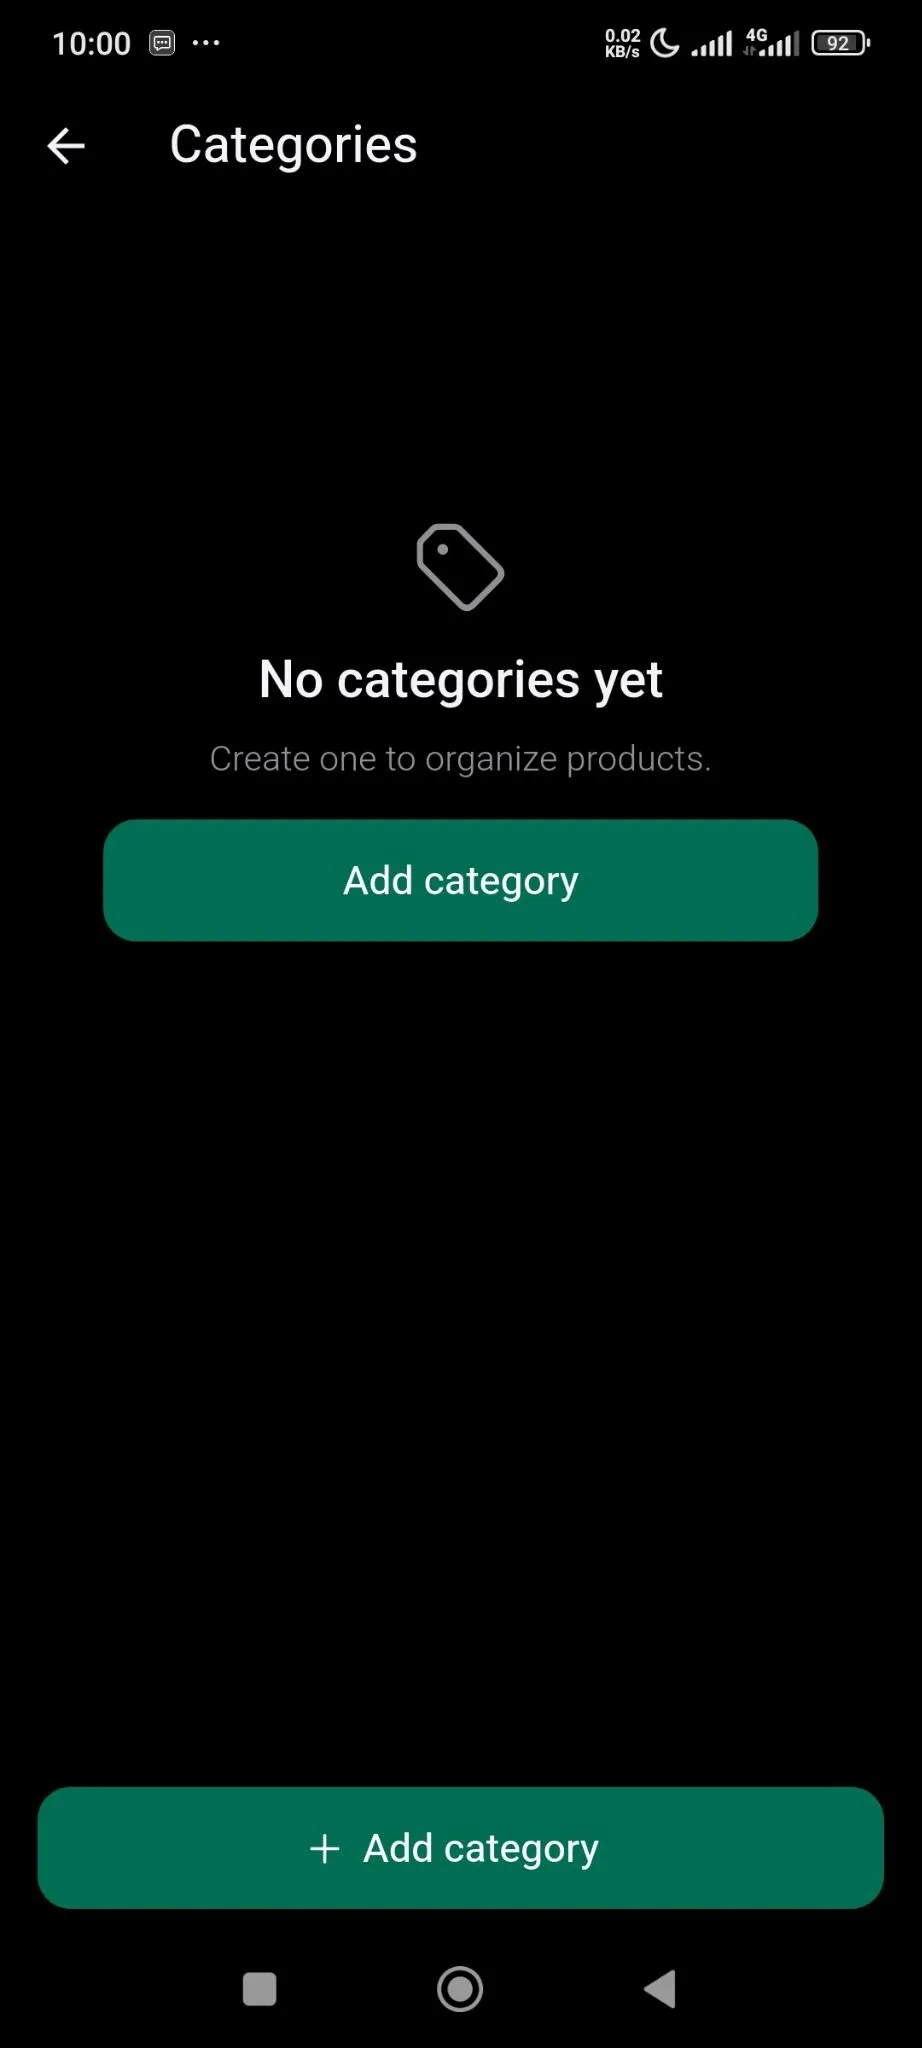
Then, you need to click on the Add Category button-
Add the name of the category and description and finish with clicking on the Create button.
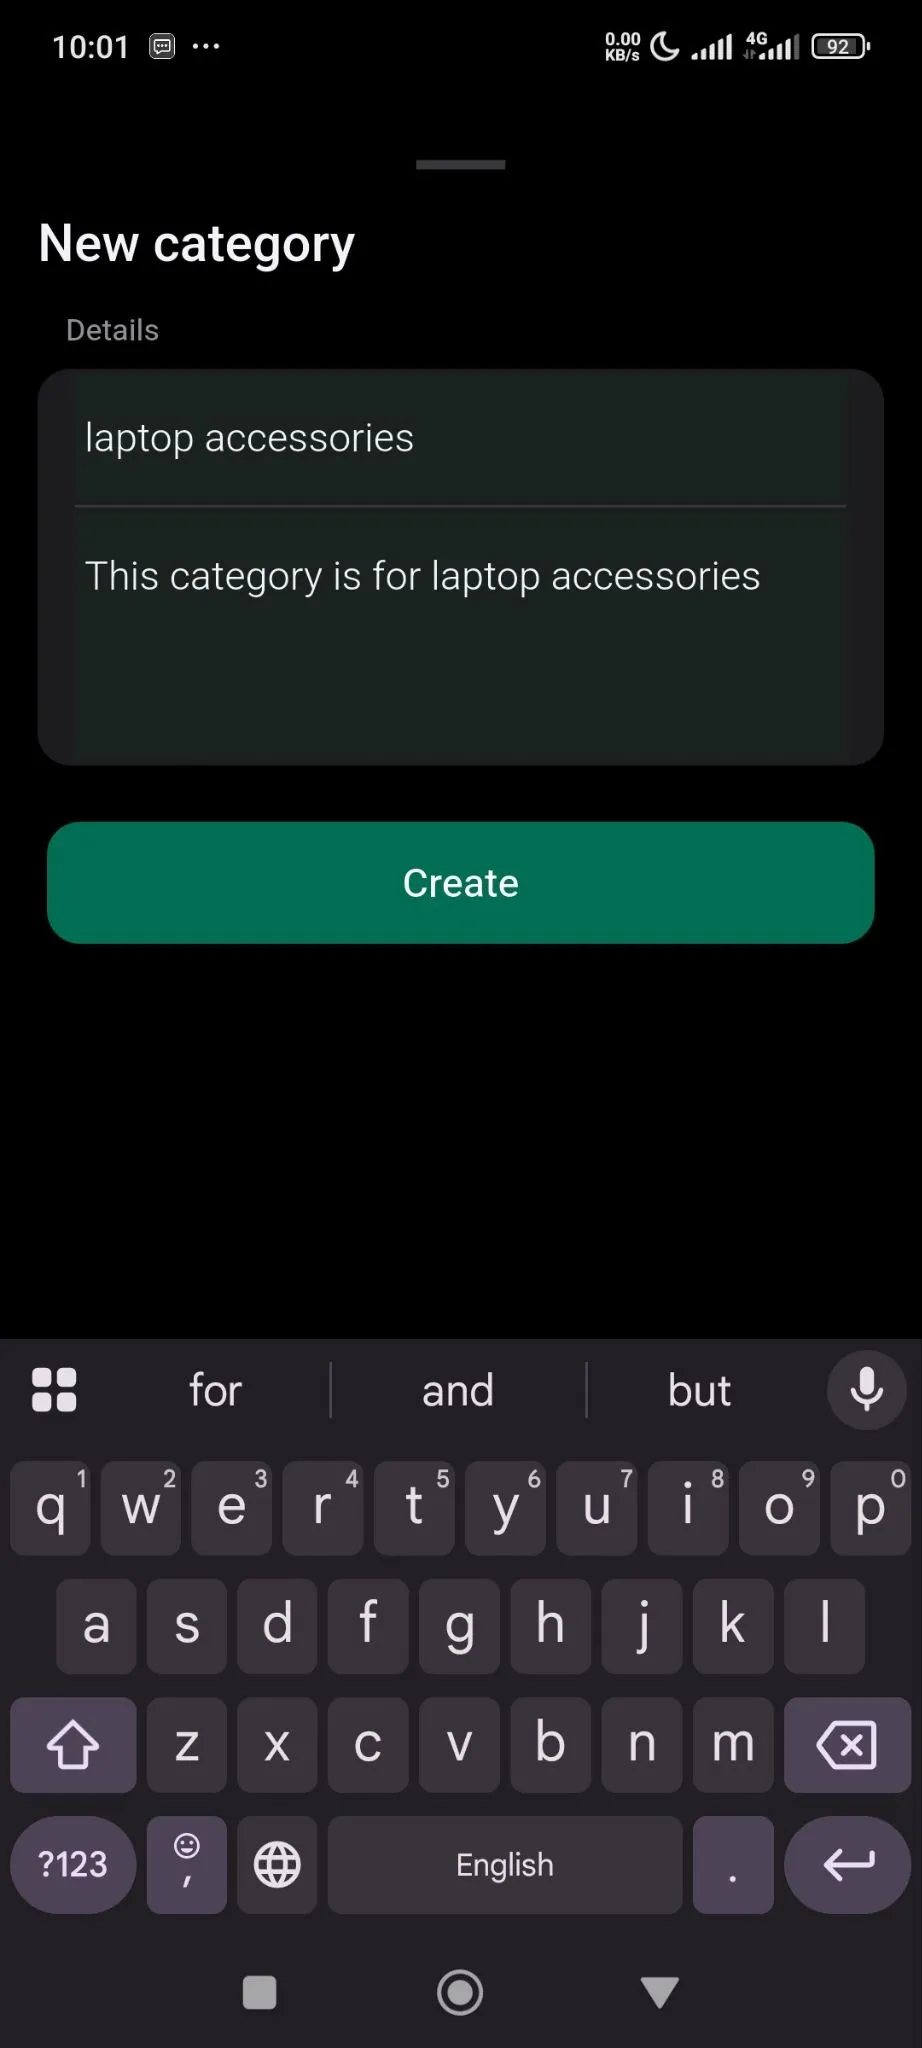
Now go back to the product form section and click on the Add Your First Product button.
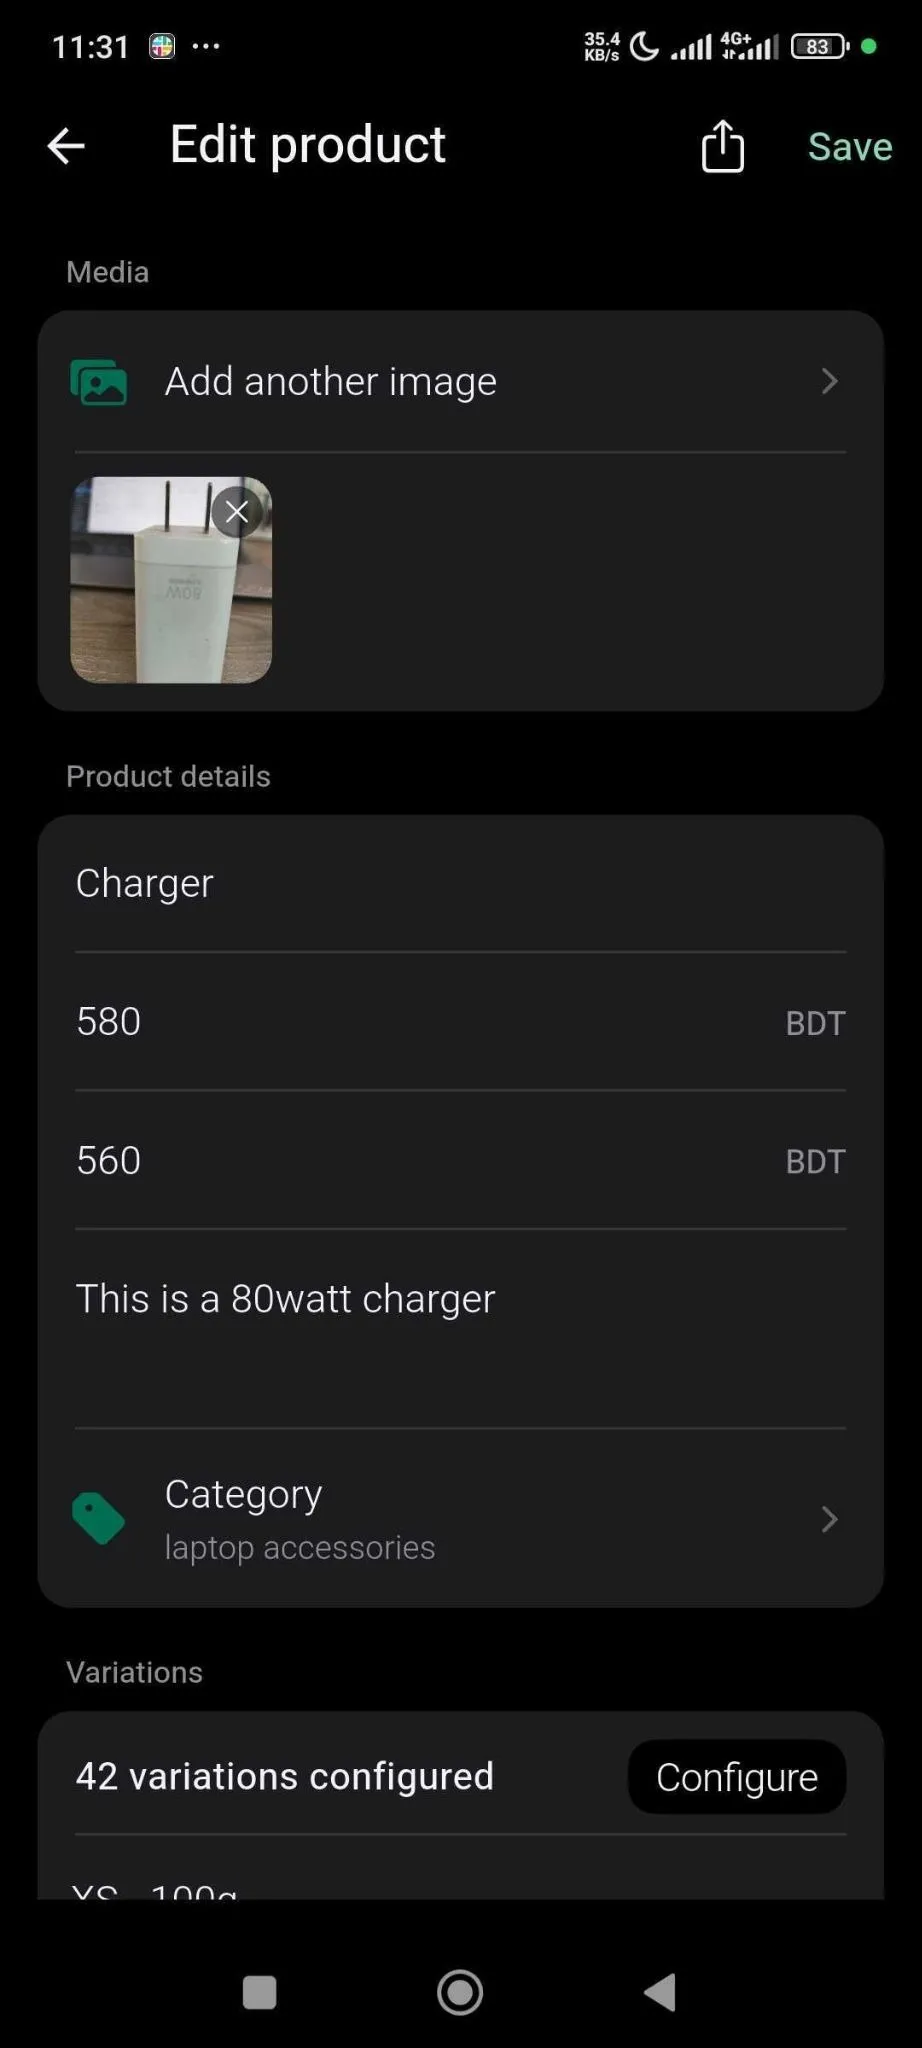
In the Product form section, add product image, name, pricing, category-
You can add variations for your product as well, based on color, size, weight or you can add your own custom variations-
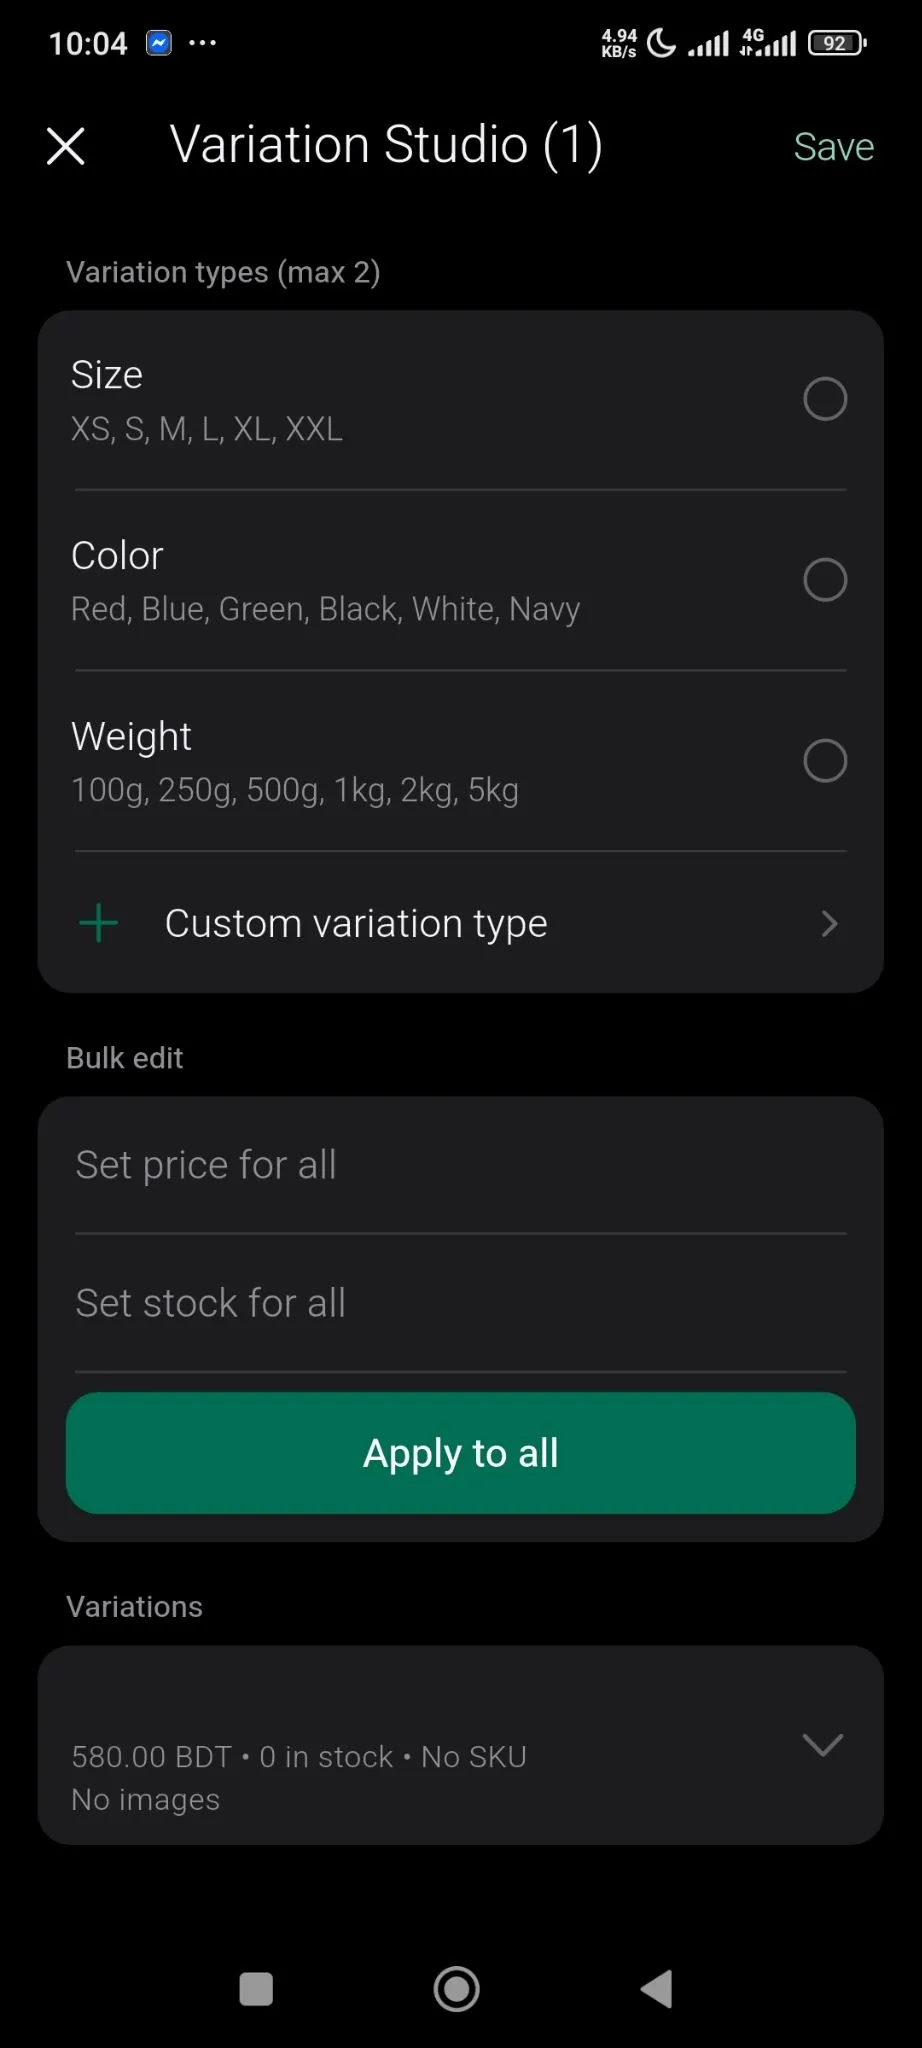
You can set individual pricing and stock for every variations or set bulk pricing and stock-
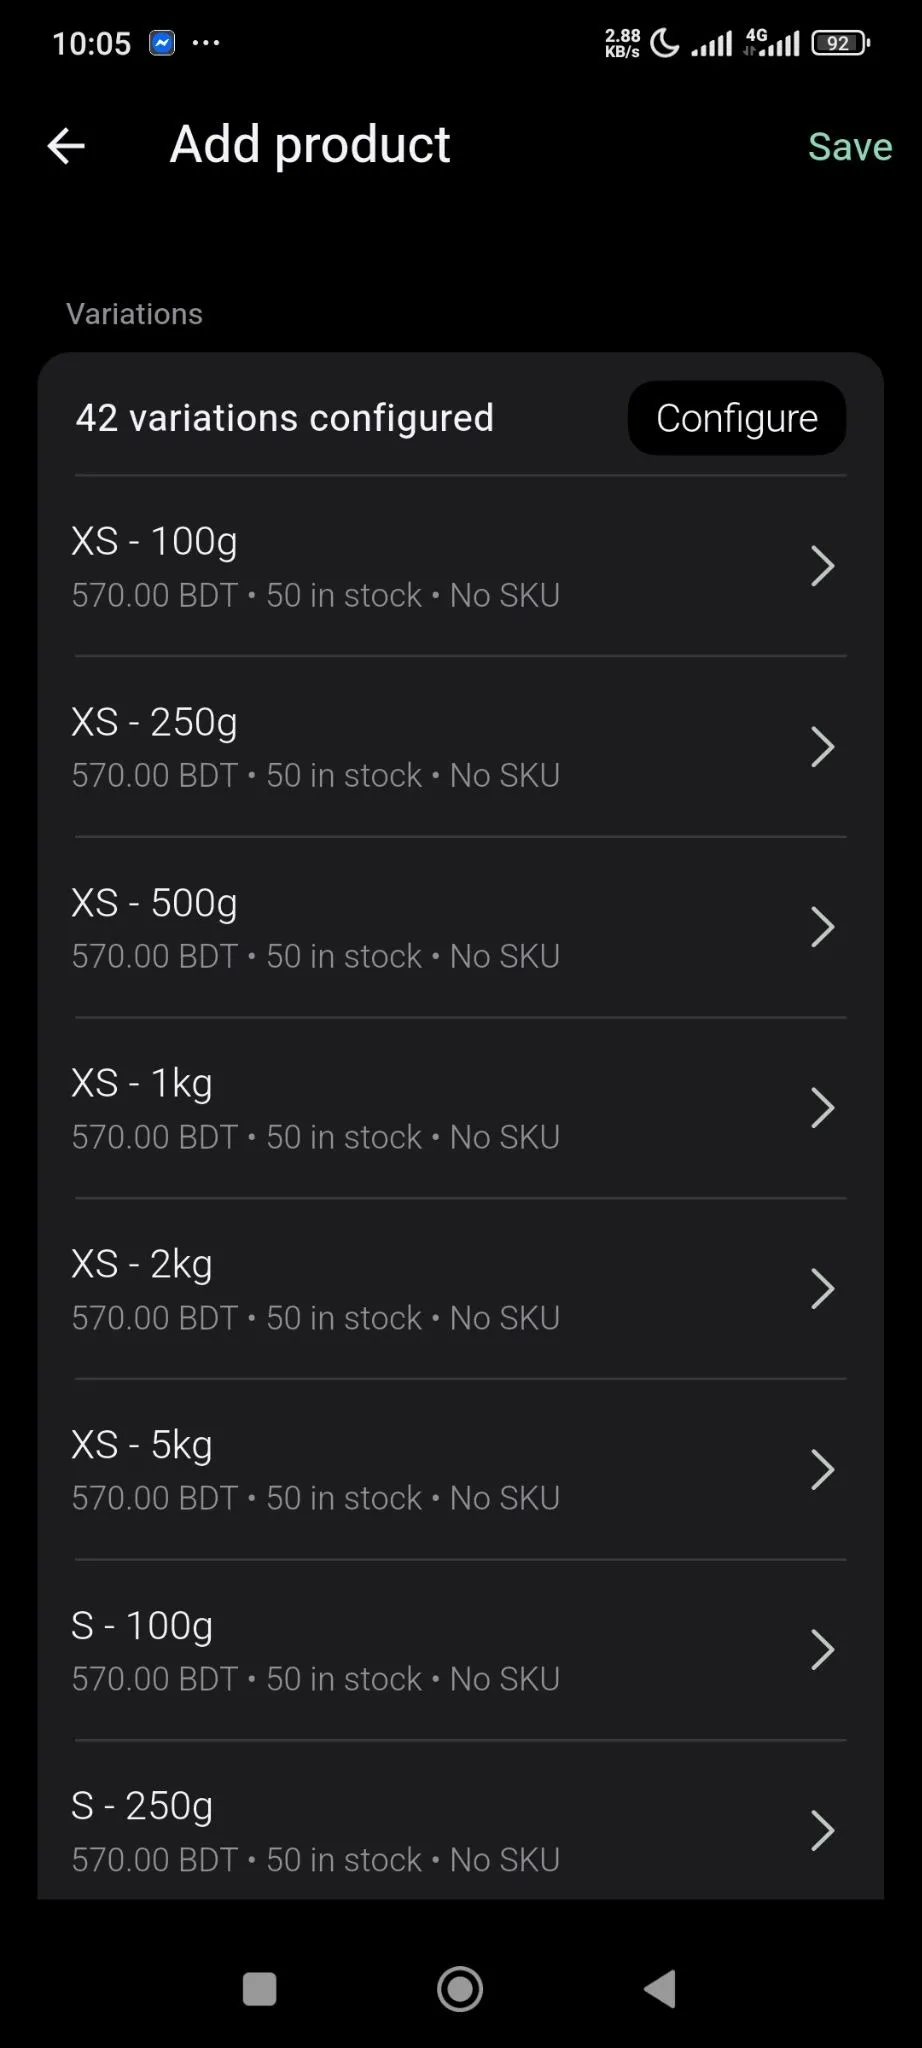
Your product is ready-
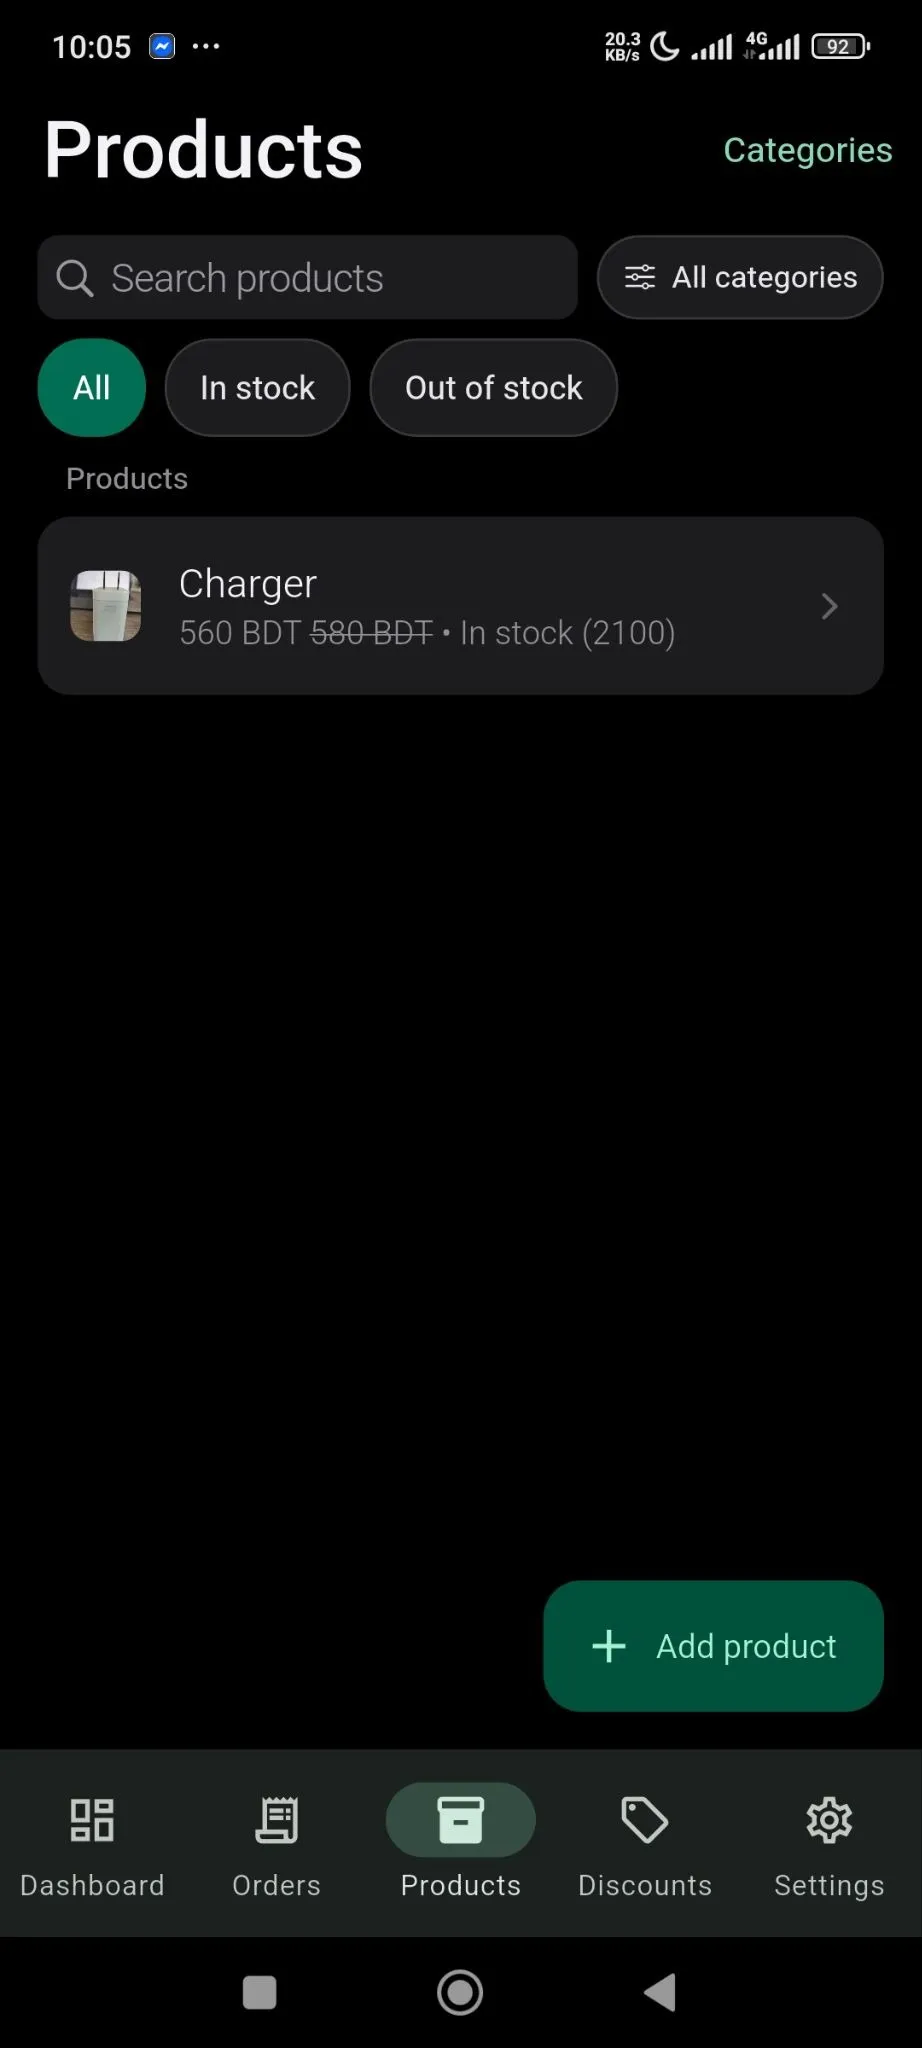
This is how easily you can add your products in SellBuddy.